Install, Configure and Optimize Yoast SEO!
Yoast SEO is one of the most popular and powerful SEO plugins for WordPress. With this tool you can easily optimize your website for search engines, so you rank higher in the search results. In this article we show you step by step how to install, configure and optimize Yoast SEO.
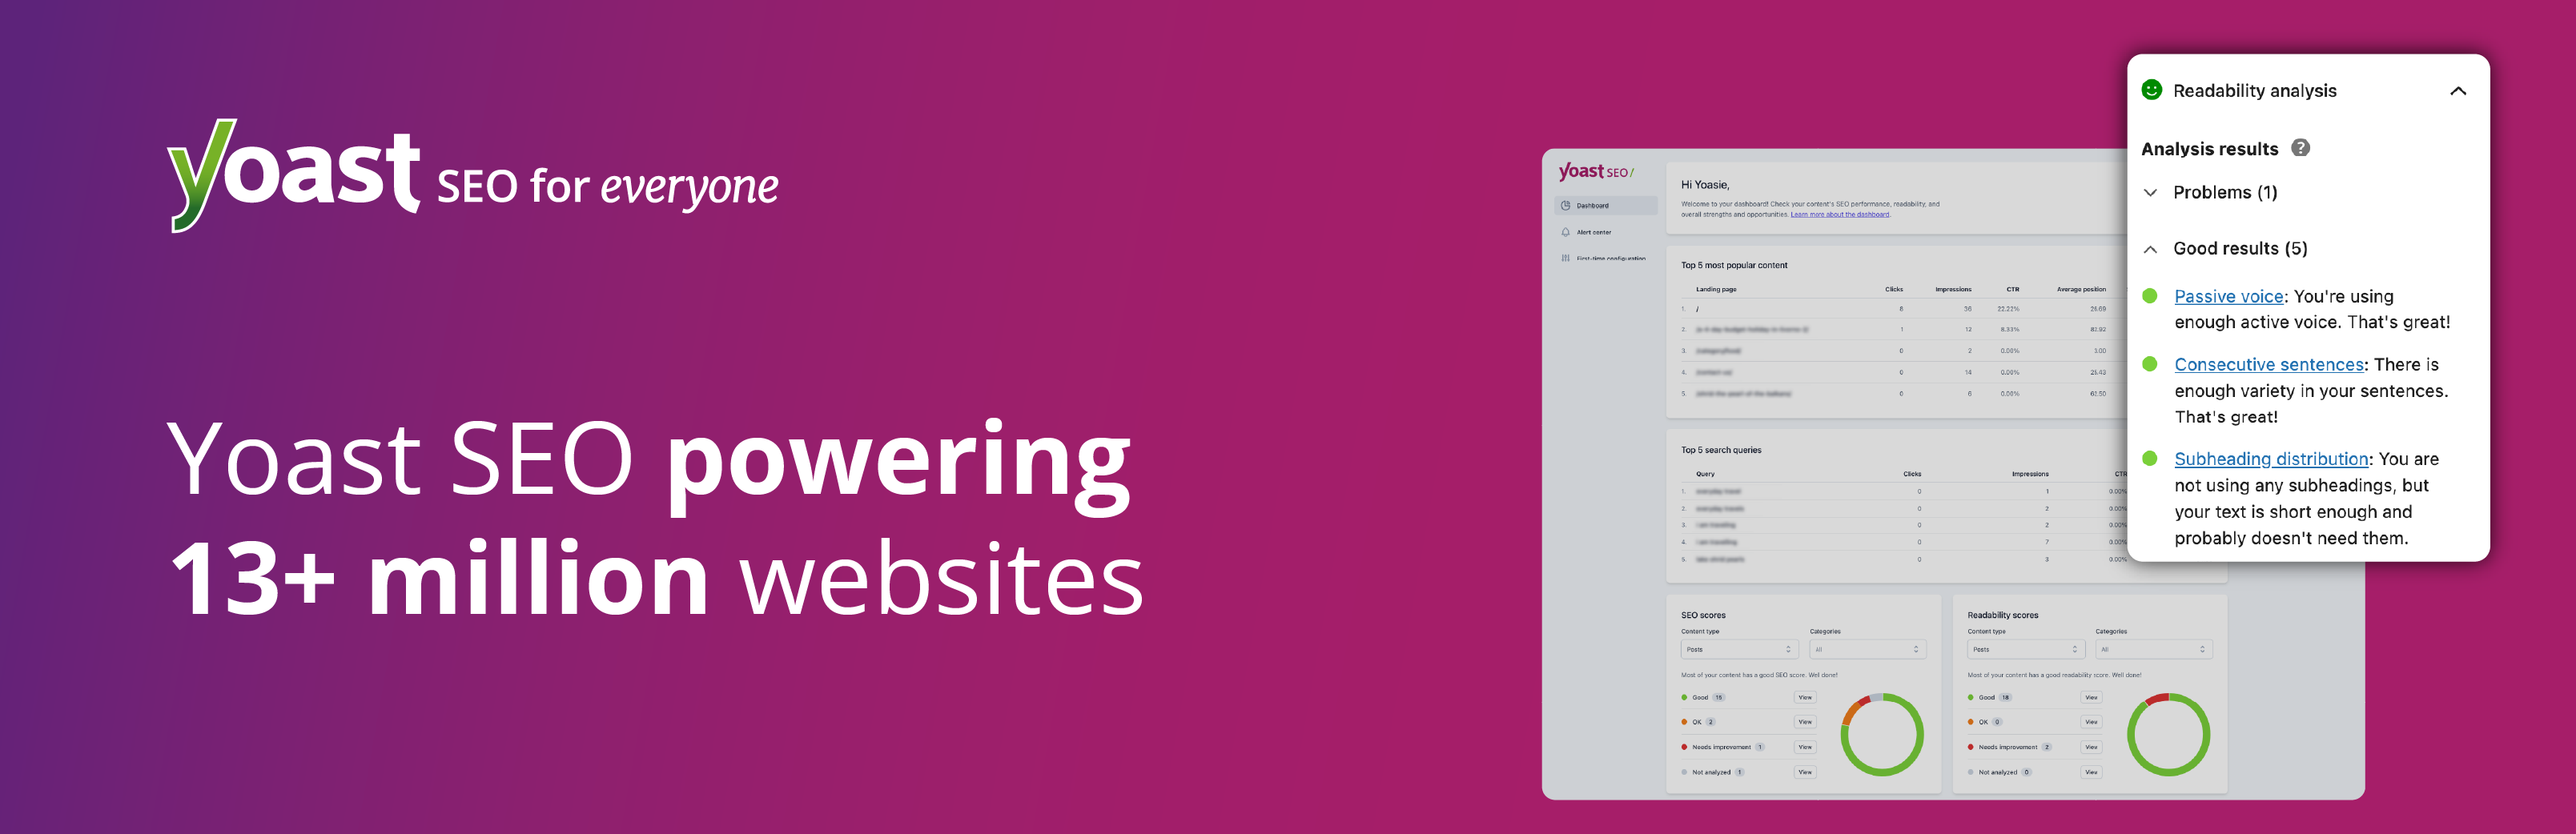
Step 1: Install Yoast SEO
Installing Yoast SEO is easy and takes only a few steps:
-
Log in to your WordPress dashboard.
-
Go to Plugins > Add New Plugin.
-
Search for "Yoast SEO in the search bar.
-
Click Install Now and then Activate.
Yoast SEO is now installed and ready to be configured.
Step 2: The initial configuration of Yoast SEO
When you install the plugin for the first time, Yoast offers a configuration wizard. Follow these steps to set up your basic settings properly:
-
Open the configuration wizard by going to SEO > General in your WordPress dashboard.
-
Click Run the configuration wizard.
-
Go through the steps, where you are asked about:
-
The type of website (for example, a blog, online store or portfolio).
-
Whether the site is live and should be indexed.
-
The company name and social profiles.
-
The visibility of specific content types (such as posts, pages and categories).
-
-
Click Finish.
Step 3: Optimize your SEO settings with Yoast
1. Optimize titles and meta descriptions
Every page and blog post should have a well-optimized title and meta description. Here's how:
-
Open a post or page and scroll to the Yoast SEO block.
-
Enter an SEO title that includes your most important keyword.
-
Add a catchy meta description that appeals to your readers and contains the keyword.
-
Check the SEO score and improve where needed.
2. Enable XML sitemaps
Yoast SEO automatically generates an XML sitemap so search engines can index your content better.
-
Go to SEO > Settings > Advanced > XML sitemaps and make sure it is enabled.
-
Submit the sitemap to Google Search Console for faster indexing.
3. Activate breadcrumbs
Breadcrumbs help visitors and search engines understand where they are on your website.
-
Go to SEO > Settings > Breadcrumbs.
-
Turn on the Enable breadcrumbs option.
-
Add the code
-
<?php if ( function_exists('yoast_breadcrumb') ) { yoast_breadcrumb('<p>','</p>'); } ?> -
to your theme files if needed.
4. Improve readability
Yoast SEO offers a readability analysis that helps you make your content easier for your visitors. Make sure that you:
-
Use short sentences.
-
Add transition words.
-
Use subheadings (H2, H3) to keep the content well organized.
Step 4: Use Yoast SEO for every new blog post
Every time you write a new blog post, it's important to make the best use of Yoast SEO. Here are the steps:
-
Choose your focus keyphrase
Pick a relevant keyword you want to rank for and make sure it appears naturally in your text. -
Add an SEO title and meta description
-
The title should contain your keyword and be attractive to users.
-
The meta description should be short, catchy and informative, with a call to action.
-
-
Use the Yoast SEO analysis block
-
Check whether the keyword appears in the title, first paragraph, URL and headings.
-
Make sure your text is easy to read according to the readability analysis.
-
-
Optimize the URL
-
Use a short, descriptive URL that includes your keyword.
-
-
Add internal and external links
-
Internal links help search engines understand your site better.
-
External links to reliable sources strengthen the credibility of your content.
-
-
Optimize images
-
Add alt text with relevant keywords.
-
Use compressed images to improve loading times.
-
-
Check and publish
-
Do a final check with the Yoast SEO checklist.
-
Publish the blog post and share it on social media.
-
Step 5: WordPress hosting and SEO optimization
A fast and stable hosting environment is essential for SEO. A slow website can hurt your rankings. That's why we recommend using a reliable hosting provider such as Theory7.net. With optimized WordPress hosting, you make sure your website loads quickly, which is essential for a good user experience and search engine optimization.
Frequently asked questions about Yoast SEO
1. Why doesn't my website appear in Google after setting up Yoast SEO?
There can be several reasons for this:
-
Check that your site is not set to "noindex" under SEO > Settings > Advanced > Search appearance.
-
Check that your sitemap has been submitted correctly to Google Search Console.
-
It can take some time before Google indexes your changes.
2. Why doesn't the Yoast SEO analysis work properly on my pages?
This can happen if:
-
The page is edited in a builder such as Elementor. In that case, use Elementor's built-in SEO options.
-
JavaScript conflicts with other plugins interfere with the Yoast analysis.
-
The content is not directly in the WordPress editor.
3. Do I need to fill in both an SEO title and a meta description?
Yes, both are important:
-
The SEO title helps search engines and users understand what the page is about.
-
The meta description can help you get more clicks from the search results.
4. How can I prevent duplicate content with Yoast SEO?
Yoast helps you set canonical URLs:
-
Go to SEO > Settings > Advanced > Canonical URL.
-
Add the URL of the original page if a page has duplicate content.
5. Why does Yoast SEO show a low SEO score when my content is well optimized?
The SEO score is a guideline, not an absolute truth. If you think your content is good, check:
-
Whether the main keyword appears naturally in the text.
-
Whether the meta description and title are set correctly.
-
Whether the readability analysis matches your own assessment.
Yoast SEO is a powerful tool for optimizing your WordPress website for search engines. By setting it up and using it correctly, you improve your online visibility and attract more visitors. Don't forget to use a fast hosting provider such as Theory7.net for the best performance. Good luck with your SEO optimization!
0 van 0 vonden dit nuttig
